
 I noticed that with 7.5 inch diameter altimeter bay there is sure a lot of room in there. Almost too much. I will only need about a third of it. I need to make sure that this bay can withstand the weight of the entire rocket and then some. I am going to us 3 lenghts of all-thread instead of the normal 2 I use on the 4" rockets. With each of the pieces of all thread 120 degrees apart I can us 2 of them and face my electronics outward. I may use the rest of the space to install a camera or camcorder in the future.
The first lesson I am learning is to slow down. After getting the upper and lower bulkhead done I wanted to coat it in epoxy to keep it from getting burned up with the 4 or 5 grams of BP going off in it. Once I got it coated I put them aside for the night. I came out the next morning and noticed that it hasn't set up at all. I went to the resin and hardener bottle and realized that I needed 3 pumps of hardener instead of the typical West Systems 1 pump. Thankfully my wife talked me into scraping it off instead of just tossing it and buying new bulk plates...sorry Ken. Alright, one day down scraping off all that wasted epoxy...that put a damper on wanting to work on it for about a week. I spent that time trying to figure out how to use Autosketch 9. I love the drawing Vern put out on his web page (http://www.vernk.com/) but he sure does make it look easy...I might get done with the rocket before I figure out how to use the software. Sure wish they came out with a book on it.
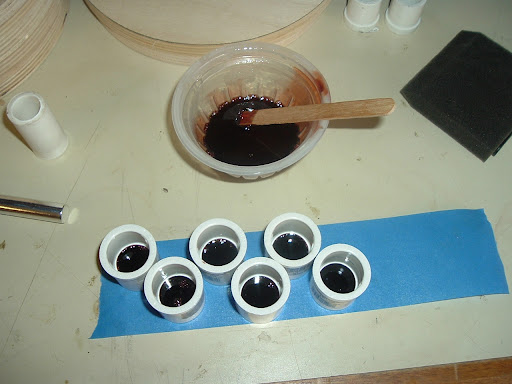 Above is the PVC cups I used to hold the black powder charges. My wonderful Home Improvement Centers didn't have the standard 3/4 flat bottom cups so I had to but the ones with holes in the bottoms. A simple epoxy fill fixed that.
 To figure out where to put the holes for the all thread I used my old BSD Fin alignment guide.
 Marked in 1 inch
 This is where the FWD bulk plate T-Nuts will go


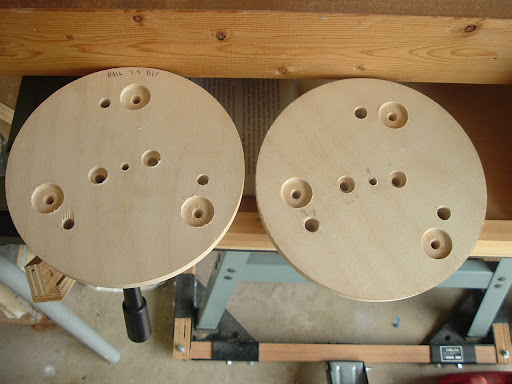 These are the bulk plates. Three one inch holes for the BP charge cups/ignitor pass through, three smaller holes for the all thread and the two in the center is of course for the U-Bolt.
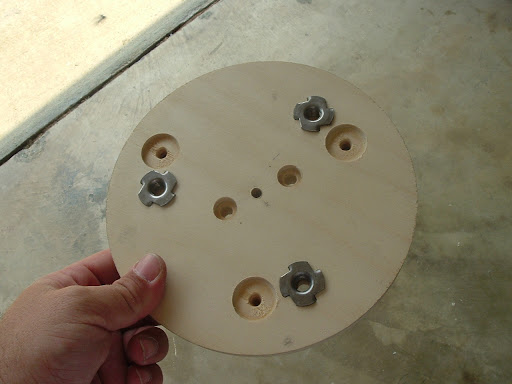 Here the 5/16" T-Nuts to hold the lower plate, so far the BP cups aren't presenting a problem...
Well...here is the problem...when I go to the aft end of the E-Bay I notice that I cannot put the fender washers and wing nuts one because it is too close to the BP cups. Solution? Move the holes over and epoxy fill the old ones
 With the holes moved over I I began laying epoxy on the bulk plate...this is where I put the wrong mixture. The photo above was the result of a days scraping and application of good epoxy. Of course the tape is there to keep it from going over the edge. I only layed it up to about 1/8th of an inch to the edge.
Tomorrow... the electronics sled.


No comments:
Post a Comment